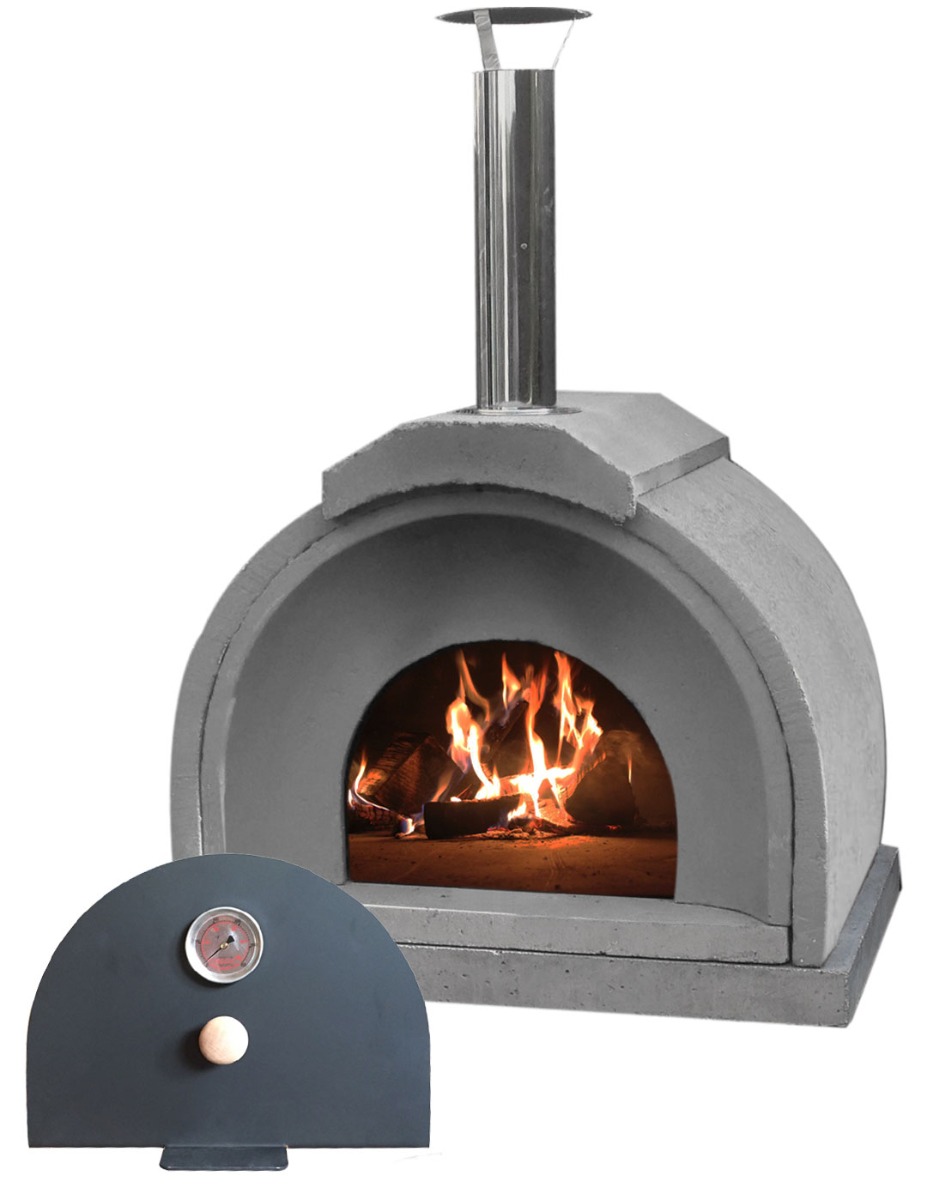
After holiday gatherings, it is worthwhile to compare the oven's condition with the beginning of the season. Not only the cleanliness of the bottom counts but also the joints and the support of parts. Perform the inspection cold, recording changes before choosing the product for the next repair.
Clean and compare available areas
In the Vitcas garden oven, use the cleaning method according to the chamber and device instructions. Examine the entrance, bottom, and visible connections. Deposits and missing material fragments require a different description, so do not judge both solely by colour.
Take photos from a location similar to previous shots. Indicate the scale of the new defect and any movement of parts. If the tool regularly hits a specific edge, add this observation to the operating instructions.
Consider the repair of the joint separately
Outdoor Oven Cement has described applications in the relevant external refractory joints. The selection includes the substrate and geometry of the site, not just the operating temperature. Loose brick also requires an assessment of support.
When replacing refractory brick, maintain function, format, and required connection. Do not glue a new element onto a damaged part without recognizing the rest of the arrangement. A change in thickness may affect the position of equipment and the entry clearance.
Record the plan for further work
Separate minor cleaning from repairs that require a break in use. Take into account bonding, drying, and preparing the device according to the products used. The schedule for the next meeting should be based on the readiness of materials.
After the planned start-up, compare the repaired area again once it has cooled. Keep previous photos and product data. This way, the end-of-season inspection provides a useful history of changes, rather than a new list of random fixes without knowledge of their causes.